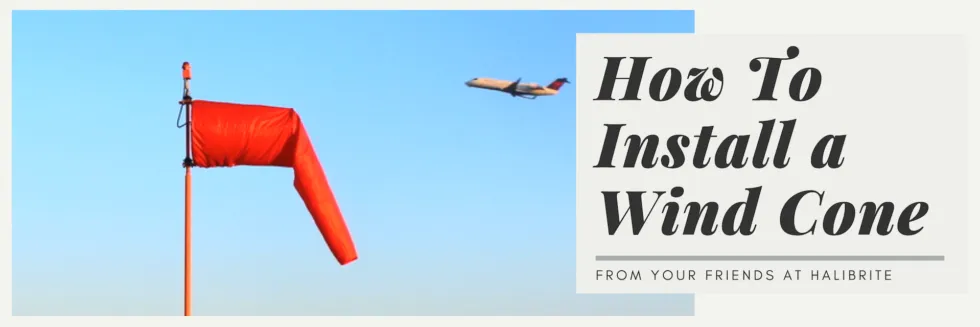
Looking at aviation products and terminology from around the world, you may be wondering: what is the difference between a wind cone and a wind sock?
You could argue there are slight differences, one of which is that wind cones usually have firmer baskets rather than basic metal hoops, so nothing gets tangled. The way one would install a wind sock can differ by model as well, but for most aviation purposes, wind socks and wind cones are more or less the same thing. Both are used at heliports and airports all around the world to help pilots gauge wind direction and speed, thus keeping everyone safe.
The specifications for wind socks vary depending on FAA and ICAO guidelines. Similarly, wind sock set-ups and installations are determined by the kind of airport or heliport in question. While Hali-Brite makes wind cones that can suit airports and heliports of any size, one common question for all of them is: how do you install a wind sock? Regardless of the product specifics, the process is fortunately quite simple:
How to Install a Wind Sock
1. Install your anchor in a firm base for your wind sock pole assembly.
To make sure your wind sock is mounted firmly, begin by creating a good base for it. This will require professional installation which begins with digging a deep enough hole for the pole anchor (approximately 7.5 feet deep). Once the anchor assembly is built, lower it into the hole with the correct support rods in place and fill the whole with concrete. To stay compliant with local regulations, be sure to hire a contractor to address this step.
2. Attach the base of your wind sock pole to the anchor.
Once the bolts on top of your anchor have been levelled off and the concrete has cured, you can install a wind sock pole on top. With the help of at least two people, carefully lift the pole onto the anchor and screw it on tightly. Because Hali-Brite wind sock poles are jointed in the middle, crank the top half of the pole into a lower, reachable position to make the next steps more comfortable.
3. Attach the wind sock basket to the pole.
With the basket’s rain caps pointing away from the pole, screw the basket into the top of it. If your wind sock model comes with lights, carefully follow your unit’s instructions to feed electrical wire down through the pole before fastening on your lights as well. When all is done, attach the wiring to a power source (using Hali-Brite’s power source guides, or with the help of an electrician as necessary).
4. Attach the wind sock to the basket.
With the pole assembled, slide your wind sock over the basket and fasten it on with cable straps. Finally, crank the pole into position again and secure it with bolts and nuts. With this step completed, you now know how to install a wind sock!
International Differences Between Wind Socks and Wind Cones
The process to install a wind sock can be slightly different depending on the model (for Hali-Brite customers, fuller product guides are available free online)—and just as there are differences in terminology, there can also various specifications. As mentioned, European countries follow ICAO specifications for wind socks while America follows the FAA. While all of Hali-Brite’s wind socks are FAA compliant, the FAA’s Size 2 is also compliant with ICAO standards, meaning they are suitable for international use.
In all, Hali-Brite provides quality wind socks for many different purposes—including the L-806 for small airports and heliports or the L-807 for airports of any size. Light kits are available as well for better visibility, along with optional solar power supplies for all models (which can be installed without an electrician). For help on how to install a wind sock, or to arrange for worldwide shipping of one of our world-class products, reach us at sales@halibrite.com.

